

Credits:
Agency - The Monkeys Sydney
Art Direction - Scott Dettrick
Illustration - Dave Homer @ Debaser

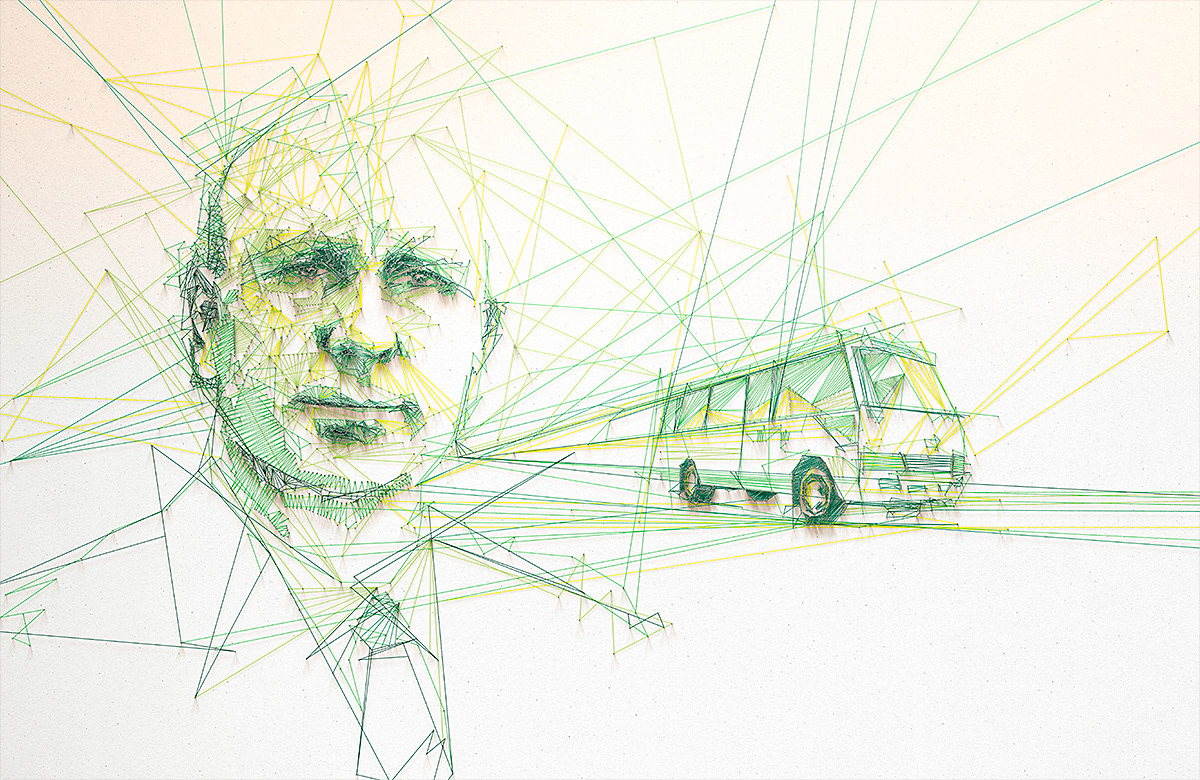
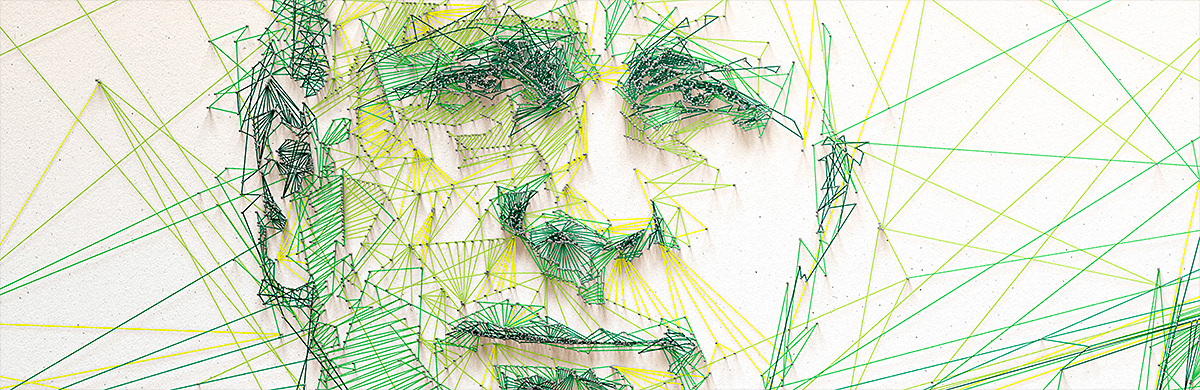
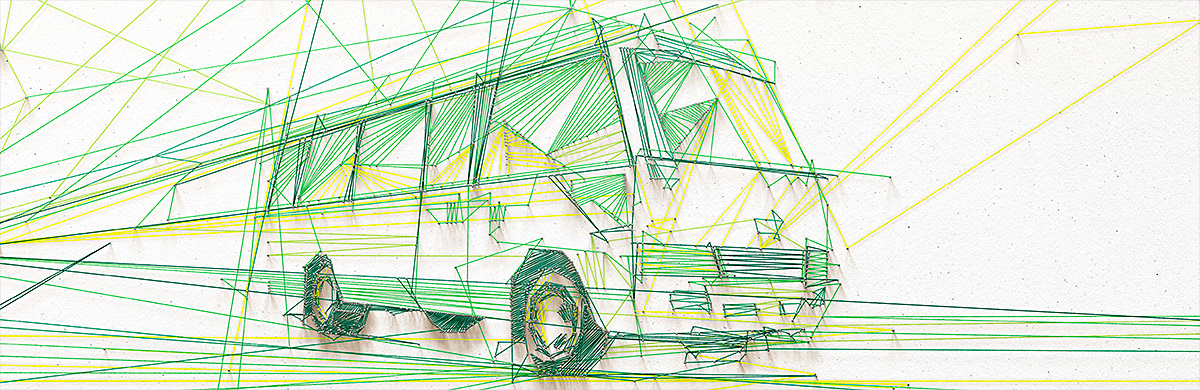
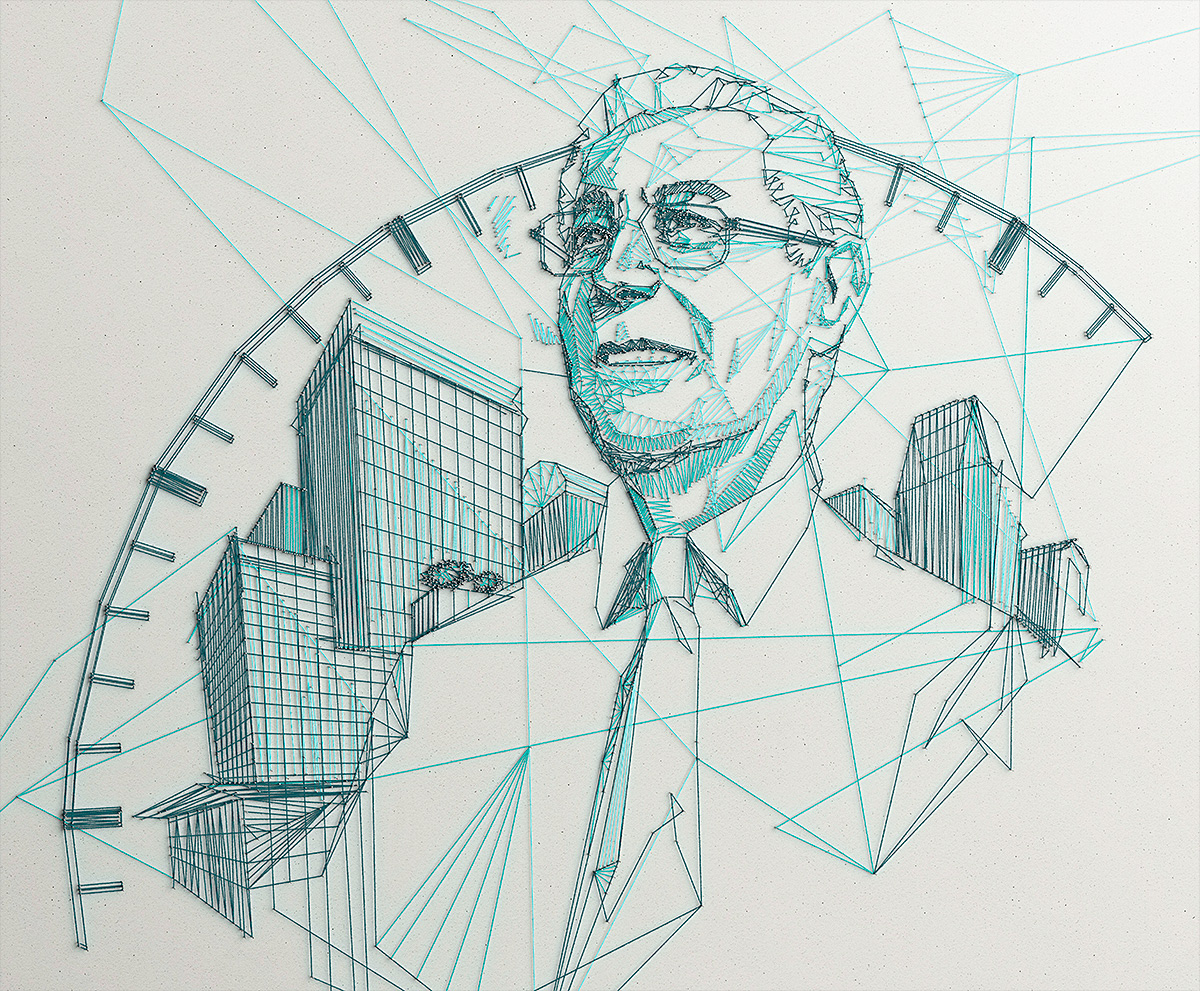
Credits:
Agency - The Monkeys Sydney
Art Direction - Scott Dettrick, Rob Concepcion
Illustration - Dave Homer @ Debaser

Credits:
Agency - The Monkeys Sydney
Art Direction - Bradley Averill
Illustration - Dave Homer @ Debaser
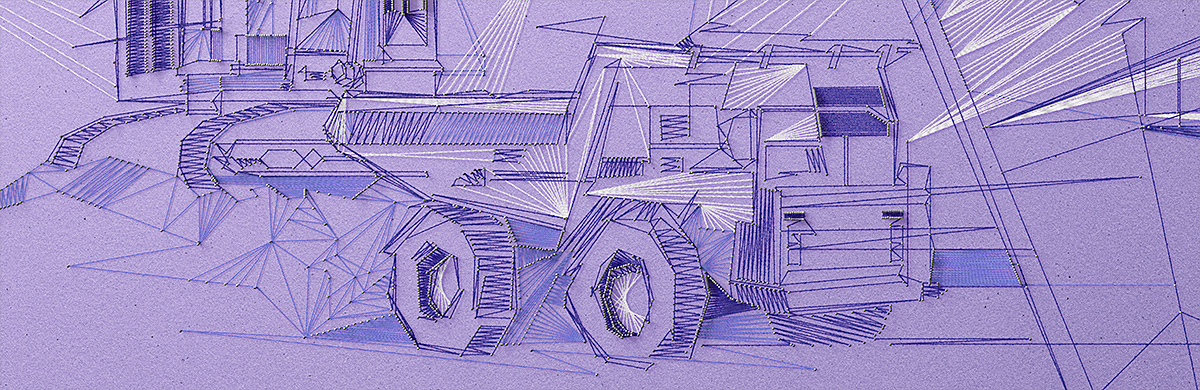
Credits:
Agency - The Monkeys Sydney
Art Direction - Jeremy Hogg
Illustration - Vaughan Flanagan